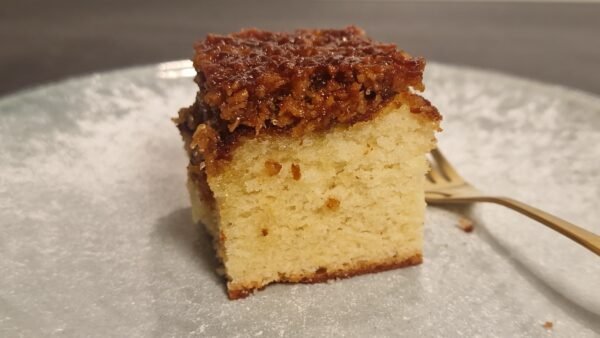
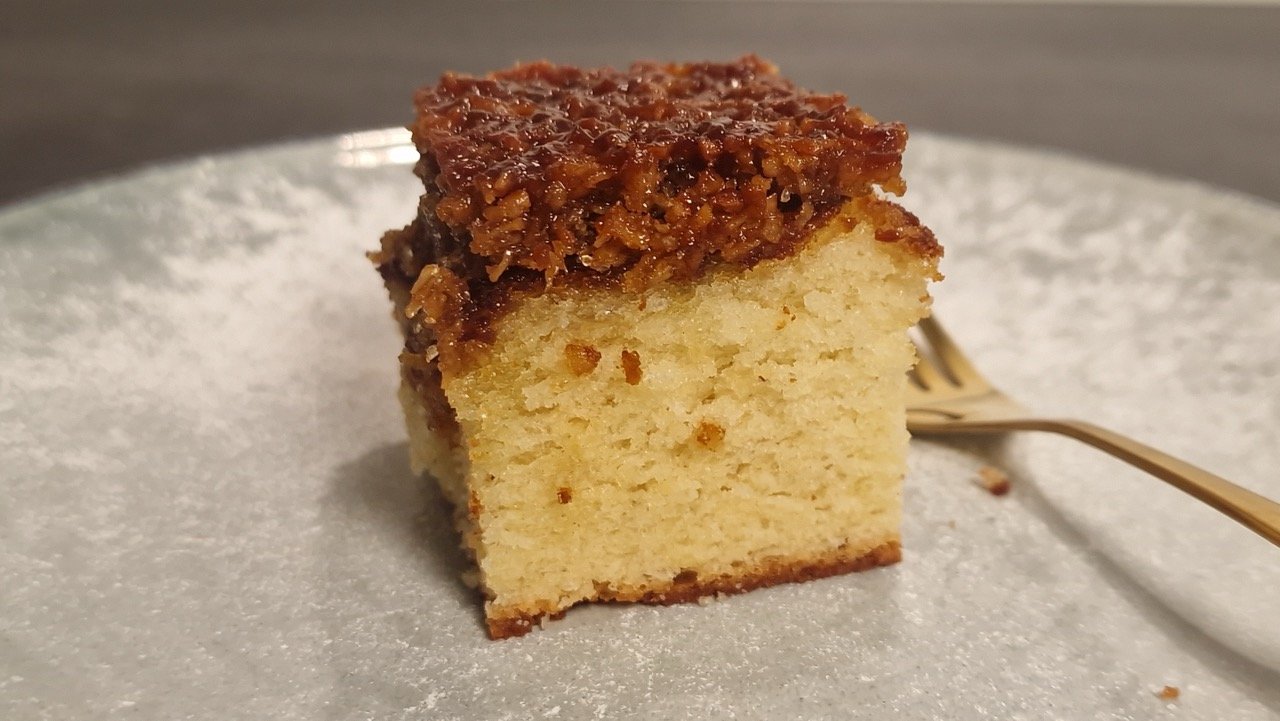
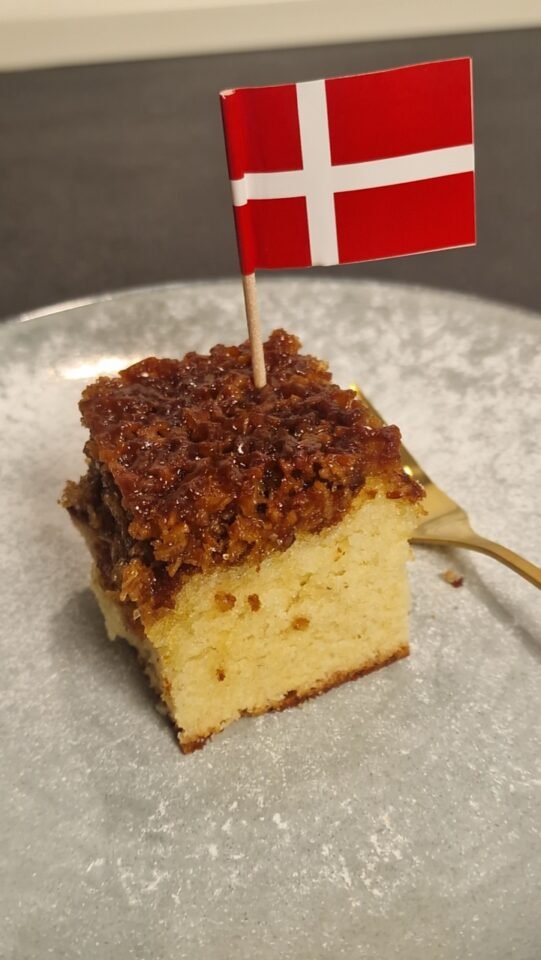
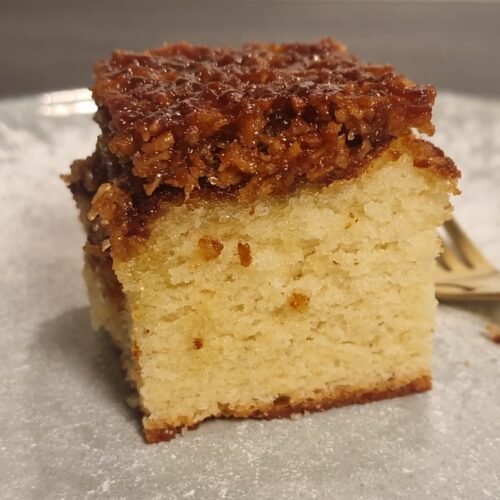
Danish dream cake is actually a very simple homemade cake. Despite its simplicity, the soft sponge cake and crisp, sweet coconut topping win over almost everyone who tries it.
This is one of Denmark’s best-known homemade cakes. Almost everyone knows it, and it’s very often baked at home. Its history is interesting too—see more on that below. But even if we put its Danish background aside, this recipe is still worth getting to know and trying, since you can make a very tasty coconut cake very easily, with little work and inexpensive ingredients.
The History of Danish Dream Cake
The cake’s Danish name (Drømmekage fra Brovst) literally means “dream cake from Brovst.” Brovst is a town in northern Denmark, in Jutland. The name is a little misleading, though: the family recipe for the cake comes from the area around Klokkerholm, about 50 km (31 miles) away, rather than Brovst.
In the family, it was known as Østergaardskagen. Jytte Andersen’s maternal grandmother, Marie Nielsen Højgaard, used to bake it, and Østergaard was the name of her grandmother’s childhood home. Jytte learned to make the cake during her visits.
In 1960, 13-year-old Jytte baked the family cake and took it, along with the recipe, to a baking evening held by the Brovst housewives’ association. Knud Brorsen, a baking advisor for Amo, was there too and took the recipe with him. Amo is a Danish flour brand that also distributed recipe sheets at the time. In her interview with Samvirke, Jytte later recalled seeing the recipe again on an Amo recipe sheet about six months later, now called Drømmekage fra Brovst. That’s how the family cake became known throughout the country.
These days, people often say that Jytte won a competition with the cake; Amo still claims this. But in the interview mentioned above, Jytte explicitly said it wasn’t a competition. So I wouldn’t treat that competition win as an established fact—but regardless, this really is an incredibly delicious cake that has since become a Danish favorite, and absolutely deservedly so.
The Old Family Recipe
Samvirke also published the old recipe under the name Østergaardskagen, credited to Jytte Andersen. I tried to verify its authenticity, and as far as I could tell, there’s a good chance that the recipe at that link (in Danish) preserves the old family version that developed into today’s popular dream cake from Brovst.
Of course, the exact quantities vary between modern recipes too, but there is one particularly interesting difference between the original and today’s versions in how the cake is made.
The difference is that in the original recipe, the eggs and sugar for the batter were beaten over steam until very thick and foamy. This step is missing from most modern recipes, perhaps for the sake of simplicity. Whisking over steam isn’t something most people do in the kitchen these days, so the more convenient version has stuck: simply beating the eggs and sugar with a whisk until foamy.
I should mention that I haven’t tasted the version made over steam yet, so I can’t judge the difference between the two methods from personal experience.
A Cake More Than 100 Years Old
And let me point out one thing. According to Samvirke, the family was already baking this cake around 1900, and that is consistent with the fact that it came from the childhood home of Marie Nielsen Højgaard, who was already a grandmother by 1960.
And although it has changed a little, in the 2020s (when I’m writing this recipe), this cake is a true Danish favorite. In other words, the recipe has not only survived more than 100 years, but has only grown stronger along the way.
What Kind of Brown Sugar Goes on Top?
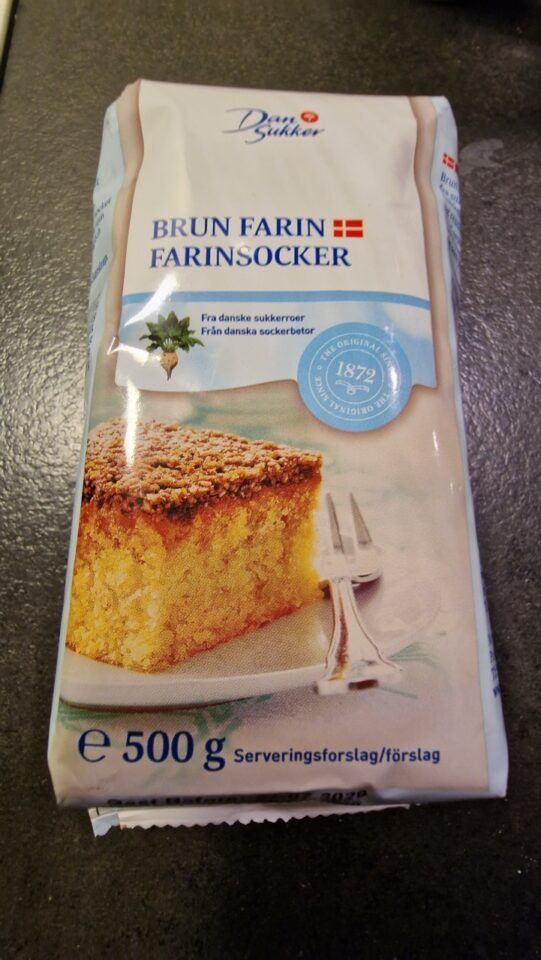
Danish recipes use brun farin. This is a soft, slightly moist brown sugar whose color and full flavor come from added cane sugar syrup. If you have a choice of different brown sugars, look for this moister, more syrupy type for the coconut topping.
I should mention that this recipe is so widely popular in Denmark that even one of the brown sugar packages for the coconut topping has a picture of this cake—and, of course, the recipe—on it. As if that’s all it’s good for. 😁
Two-Stage Baking
Baking in two stages is very characteristic of Danish dream cake. This means that first we bake the cake base in a fairly hot oven at 400°F (200°C).
When the cake base is nearly baked, we pour the hot coconut topping over it and spread it out. Then we bake it at an even higher temperature, 440°F (225°C), for a few more minutes, until the coconut topping caramelizes a little.
Serving Danish Dream Cake
Once it’s done, let the cake cool in the pan. The coconut topping is still soft while hot, and it’s easier to cut neat slices once it has cooled.
Cut it into squares and serve it as is, for example with coffee or tea. It doesn’t need any extra frosting or decoration: the whole point is the combination of the soft cake and the crisp coconut topping. If you bake it ahead, it’s still delicious the next day, covered and kept at room temperature.
Danish Dream Cake With Coconut
Equipment
- 8 × 12 × 2 inches baking pan (20 × 30 × 5 cm)
Ingredients
For the batter
- 200 ml milk 13½ tbsp
- 50 g butter 3½ tbsp
- 4 eggs
- 300 g sugar 2½ cups
- 1 tsp vanilla sugar 4 g
- 250 g flour about 8.8 oz
- 3 tsp baking powder about 13 g
For the coconut topping
- 150 g butter 10½ tbsp (1 full US stick + 2½ tablespoons; or roughly 1⅓ sticks total)
- 100 g unsweetened shredded coconut 1¼ cups, or about 20 level tablespoons
- 250 g brown sugar the moister, more syrupy type (1¼ cups)
- 50 ml milk 3⅓ tbsp
Instructions
Baking the cake base
- Preheat the oven to 400°F (200°C) on the conventional Bake setting.
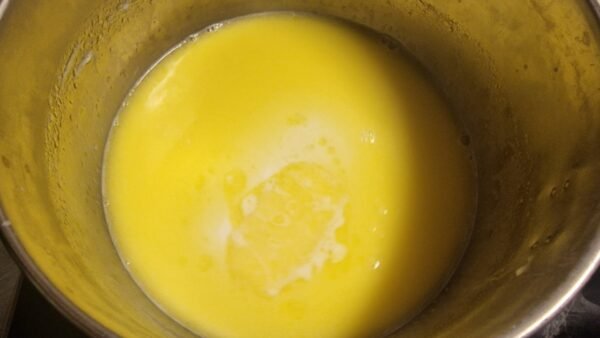
- Put the milk and butter in a saucepan and heat until the butter has melted. Don’t let it get too hot.

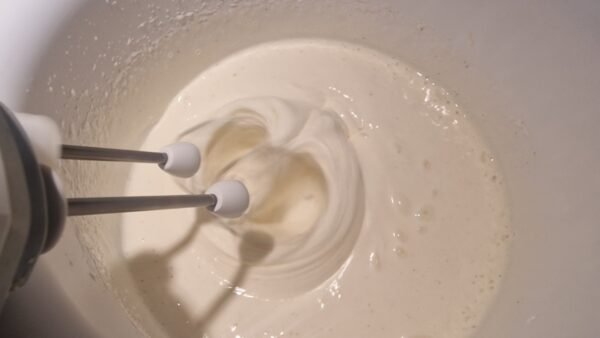
- Meanwhile, beat the eggs, sugar, and vanilla sugar in a bowl with a hand mixer or stand mixer until foamy.Beat on high speed until pale, thick, and foamy.
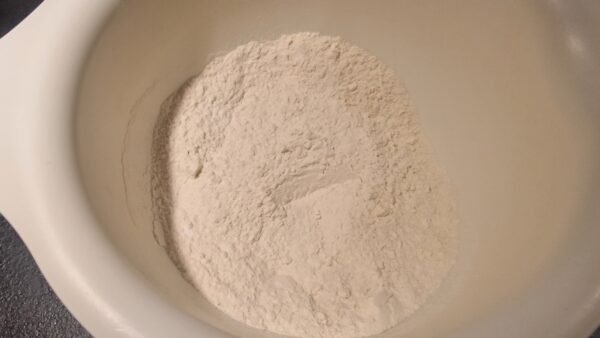
- In another bowl, mix the flour with the baking powder.
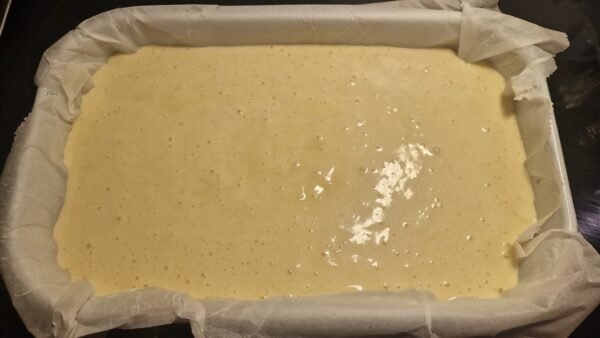
- Alternately sift the flour mixture into the egg-and-sugar mixture and pour in the milk mixture, gently folding with a spatula.I add half the flour first, in two additions, then the milk and remaining flour in three additions each.
- Pour the batter into a parchment-lined baking pan measuring about 20 × 30 cm (8 × 12 inches).
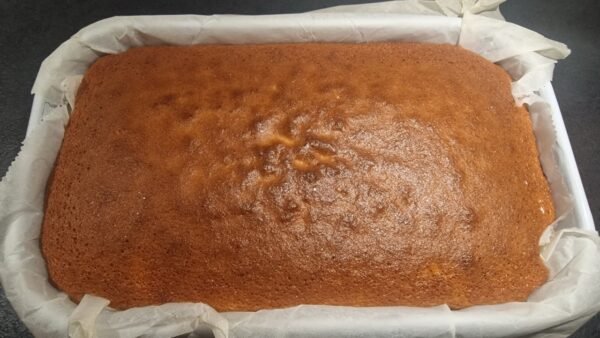
- Put it in the oven and bake for about 20 minutes.Every oven is different, and the pan size can vary a little too. Check whether it’s done with a skewer or fork. Don’t overbake it at all, and it’s even fine if the inside isn’t completely dry yet, since we’ll bake it again with the coconut topping. But it does need enough structure to support the next layer.
The coconut topping
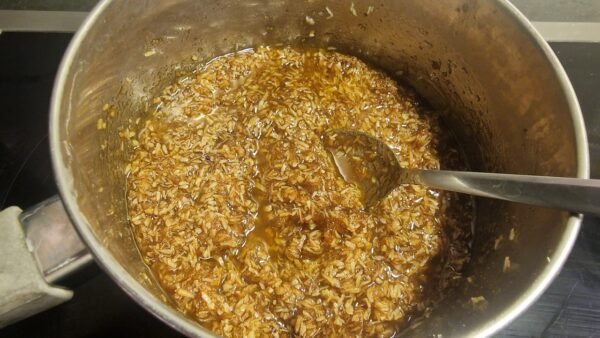
- While the cake is baking, melt the coconut topping ingredients together in a saucepan, stirring occasionally: the butter, shredded coconut, milk, and brown sugar.Before the cake’s 20-minute baking time is up, turn the heat up a little so the topping is almost boiling. Make sure it doesn’t burn!
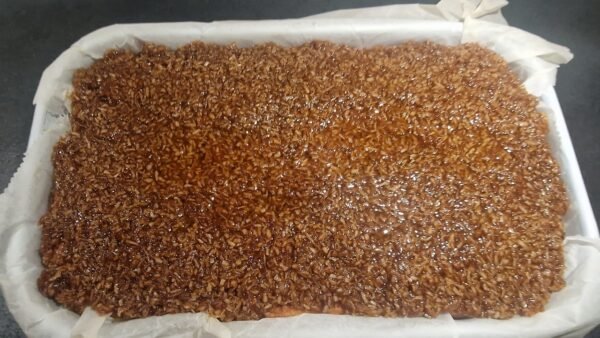
- Take the cake out of the oven and spread the coconut topping over it with a spoon. Turn the oven up to 440°F (225°C).At this point, you can prick the cake with a skewer or fork so a little of the buttery coconut topping soaks into the cake.
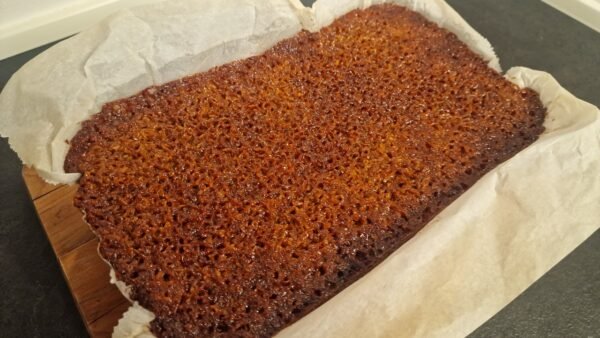
- Bake the cake for another 5–10 minutes at 440°F (225°C).Be sure to check it after 5 minutes. The top should have a nice dark color, but it shouldn’t burn. Depending on your oven, your taste, and how hot the topping was when you poured it on, the final bake with the coconut topping may take 5–10 minutes in total. At this point, the coconut topping will be bubbling in the oven.
- Let it cool in the pan. Cut it into squares to serve.