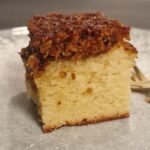
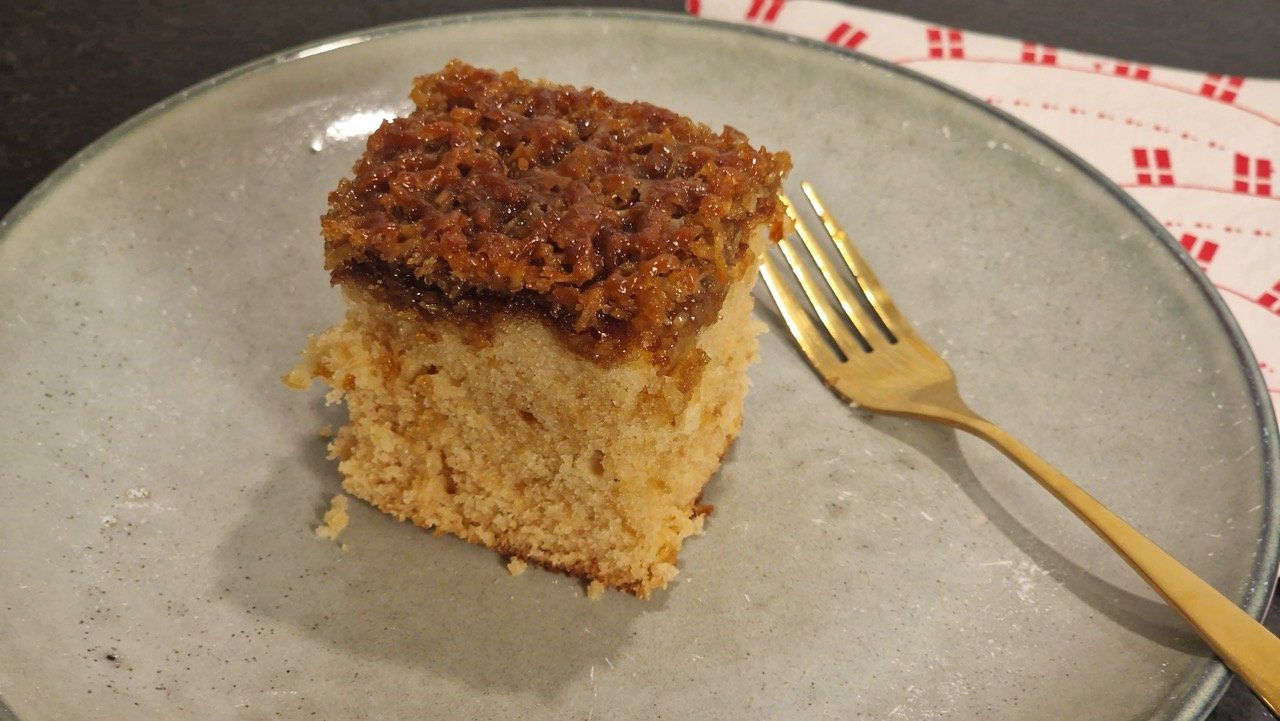
Danish dream cake with coconut (Drømmekage fra Brovst) is a very simple yet incredibly delicious homemade cake that’s popular in Denmark. But the original recipe uses wheat flour, so people who need to avoid gluten can’t even try it. Now I’ve made a gluten-free Danish dream cake.
What’s more, I didn’t use any milk or butter in this recipe either, so it’s not only gluten-free but also dairy-free and lactose-free. That means you can try it even if you need to avoid both gluten and dairy products. And despite its simplicity, the soft sponge cake and crisp, sweet coconut topping win over almost everyone who tastes it.
What Is Danish Dream Cake?
The cake’s Danish name (Drømmekage fra Brovst) literally means “dream cake from Brovst.” Brovst is a town in northern Denmark, in Jutland. Despite its simplicity, the soft sponge cake and crisp, sweet coconut topping win over almost everyone who tastes it.
Beyond its interesting history dating back to 1960, it’s also worth knowing that this is one of Denmark’s favorite homemade cakes. Almost everyone in Denmark knows it, it’s often baked at home, and for quite a few Danes, this cake represents the happiness of childhood.
If you’d like to learn more about the original version, follow the link to the “regular” Drømmekage recipe.
The Gluten-Free Version
If you avoid gluten too, the good news is that I’ve made a gluten-free version, much to my family’s delight. It doesn’t differ much from the original, since baking gluten-free cakes these days isn’t as much of a challenge as many people think.
There are basically two changes in this recipe compared with regular Drømmekage recipes.
Gluten-Free Flour
One is the amount of flour. This batch would normally need 250 g of flour (about 2 cups), but for the gluten-free version I used 350 g (about 2¾ cups, depending on the blend)—a full 40% more.
The point is that here, just as with most gluten-free cakes, you don’t need any special or unusual flour blend. A basic gluten-free all-purpose blend, or one designed for cakes, will work well.
Since every gluten-free flour is a little different, though, you can experiment with the amount if you’re more experienced. This is a very loose batter: when you mix it and pour it into the pan, it should flow, but it also needs enough structure to bake into a nice sponge cake. In my opinion, 350 g of gluten-free flour blend should achieve that every time. But if you can tell from experience that your batter will work with less, feel free to give it a try!
In my experience, gluten-free flours also tend to form more lumps. Keep that in mind when mixing the batter, and add and fold in the flour in smaller batches.
Baking
The original Drømmekage cake base bakes at a relatively high temperature throughout—400°F (200°C)—which gluten-free flours generally don’t handle as well as wheat flour. The top would burn before the batter itself had set.
That’s why I also start this batter at 400°F (200°C) for the first 10 minutes, but then lower the temperature to 350°F (180°C) and bake it for another 20 minutes, or half an hour in total. Check it after 10 minutes: if it’s only light brown, you can leave the oven at 400°F (200°C), and it will be ready sooner. But if the top is getting dark, lower the temperature to 350°F (180°C), as described here.
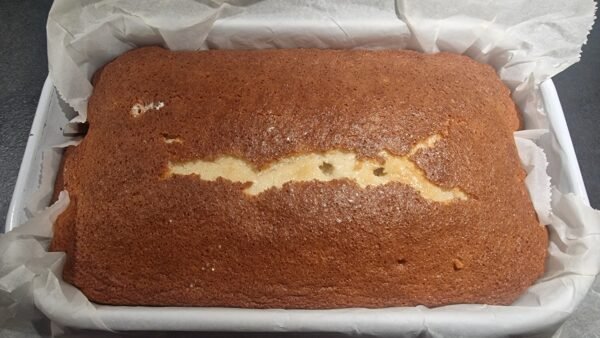
Perhaps even more important than the baking time is checking the cake yourself, depending on your oven and flour blend. The 30 minutes is more of a guide; after 20 minutes, I checked the batter every 2–3 minutes with a skewer. With Drømmekage, the aim isn’t to bake the sponge cake completely at this stage, since it will go back into the oven with the coconut topping. But it needs enough structure to support that layer. Check whether it’s done with a skewer or fork. Don’t overbake it at all—it’s even fine if the inside isn’t quite completely dry yet.
The Dairy-Free Version
Since some of my family members avoid not only gluten but also milk and dairy products, I made this cake completely dairy-free too. That didn’t involve any extra challenges: I simply used plant-based milk (almond milk) instead of milk, and good-quality plant-based butter instead of butter.
Since I taste everything I cook—even though I eat everything myself—and I made both versions at the same time, I can absolutely say that this gluten-free and dairy-free Danish Drømmekage is at least as delicious as the “original”!
What Kind of Brown Sugar Goes on Top?
Danish recipes use brun farin. This is a soft, slightly moist brown sugar whose color and full flavor come from added cane sugar syrup. If you have a choice of different brown sugars, look for this moister, more syrupy type for the coconut topping.
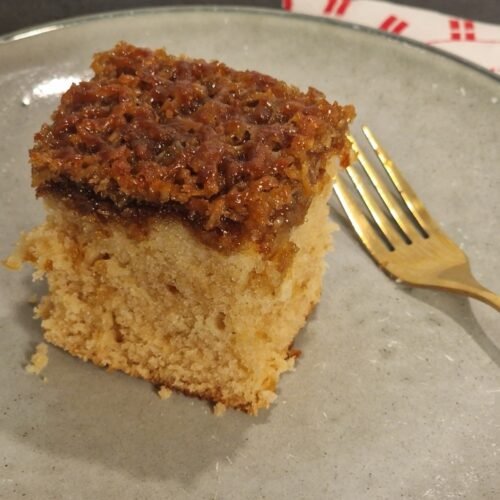
Gluten-Free Danish Dream Cake With Coconut (Drømmekage)
Equipment
- 20 × 30 × 5 cm baking pan (about 8 × 12 × 2 inches)
Ingredients
For the batter
- 200 ml plant-based milk about ¾ cup plus 1 Tbsp. and 2 tsp.; you can use the same amount of cow’s milk
- 50 g plant-based butter about 3½ Tbsp.; you can use the same amount of butter
- 4 eggs
- 300 g sugar about 1½ cups
- 4 g vanilla sugar 1 tsp.
- 350 g gluten-free flour blend all-purpose or for cakes (about 2¾ cups, depending on the blend)
- 13 g baking powder 3 tsp.
For the coconut topping
- 150 g plant-based butter about 10½ Tbsp.; you can use the same amount of butter
- 100 g shredded coconut unsweetened; about 1¼ cups, depending on the shred
- 250 g brown sugar the moister, more syrupy type (about 1¼ cups packed)
- 50 ml plant-based milk about 3 Tbsp. plus 1 tsp.; you can use the same amount of cow’s milk
Instructions
Baking the cake base
- Preheat the oven to 400°F (200°C) on the conventional Bake setting.
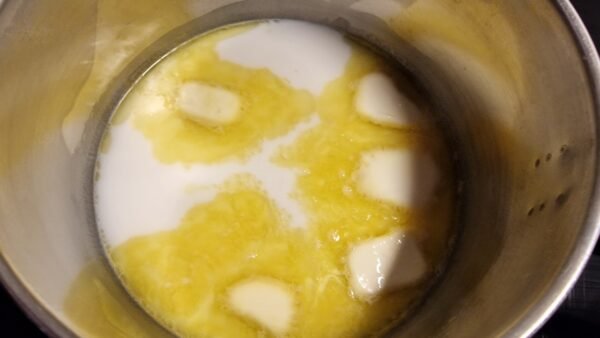
- Put the milk and butter in a saucepan and heat until the butter has melted. Don’t let the mixture get too hot.The cake is just as delicious with plant-based milk and plant-based butter, and you use them exactly the same way.

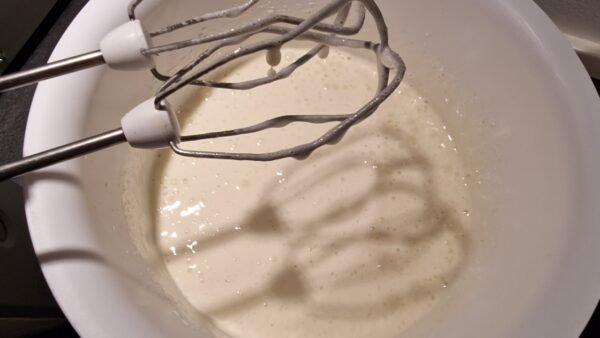
- Meanwhile, beat the eggs, sugar, and vanilla sugar in a bowl with a hand mixer or stand mixer until foamy. Beat on high speed until pale, thick, and foamy.
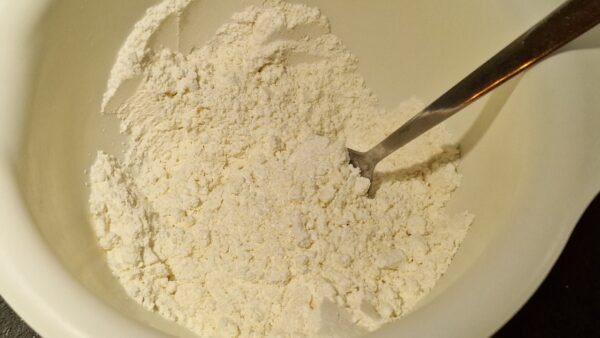
- In another bowl, mix the gluten-free flour with the baking powder.
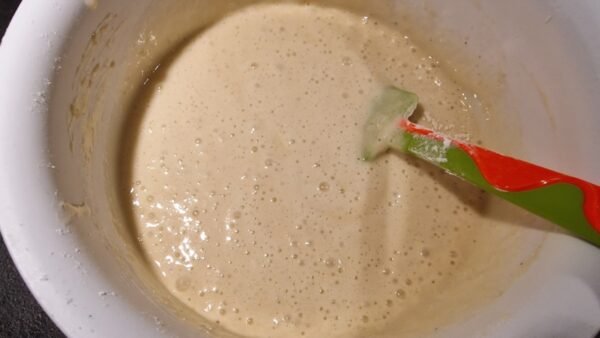
- Alternately sift the gluten-free flour mixture into the egg-and-sugar mixture and pour in the milk mixture, gently folding with a spatula.In my experience, gluten-free flours tend to form more lumps, so watch for that and add and fold in the flour in smaller batches. I first add one-third of the flour in two additions, then the milk and remaining flour in five additions each, folding thoroughly but gently each time so there are no lumps and the batter stays airy.
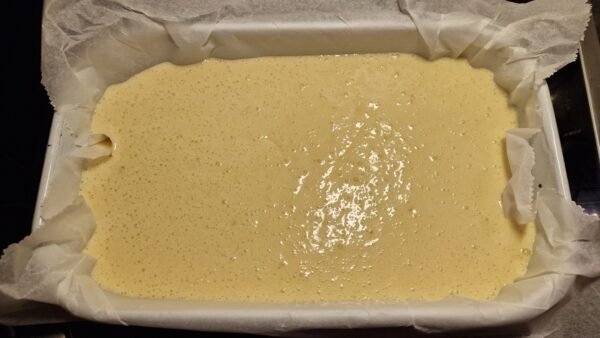
- Pour everything into a parchment-lined baking pan measuring about 20 × 30 cm (8 × 12 inches).
- Put it in the oven and bake for 10 minutes. Then lower the temperature to 350°F (180°C) and bake for about another 20 minutes (about 30 minutes in total).Check it after 10 minutes: if it’s only light brown, you can leave the oven at 400°F (200°C), and it will be ready sooner. But if the top is getting dark, lower the temperature to 350°F (180°C), as described here.Every oven is different, the pan size can vary a little too, and different gluten-free flour blends can behave very differently. Check whether it’s done with a skewer or fork. Don’t overbake it at all—it’s even fine if the inside isn’t quite completely dry yet, since we’ll bake it again with the coconut topping. But it does need enough structure to support the next layer.
The coconut topping
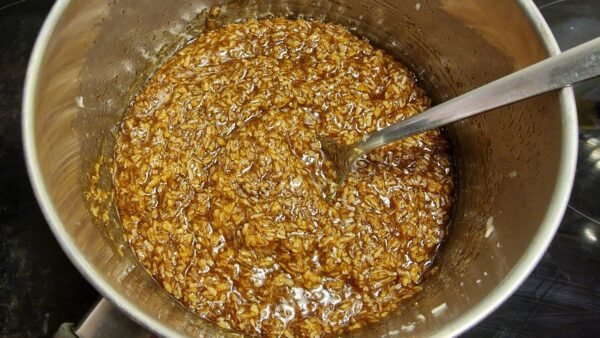
- While the cake is baking, melt the coconut topping ingredients together in a saucepan, stirring occasionally: the butter, shredded coconut, milk, and brown sugar.Plant-based milk and butter work perfectly here too, behaving just like regular milk and butter.Before the cake base finishes baking, turn the heat up a little so the topping is almost boiling. Make sure it doesn’t burn!
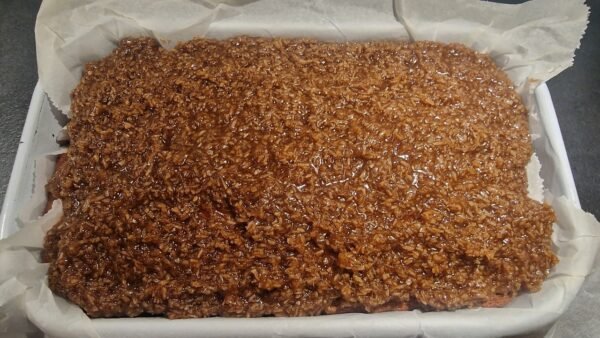
- Take the cake base out of the oven and spread the coconut topping over it with a spoon. Turn the oven up to 435°F (225°C).At this point, you can prick the cake with a skewer or fork so a little of the buttery coconut topping soaks into the cake.
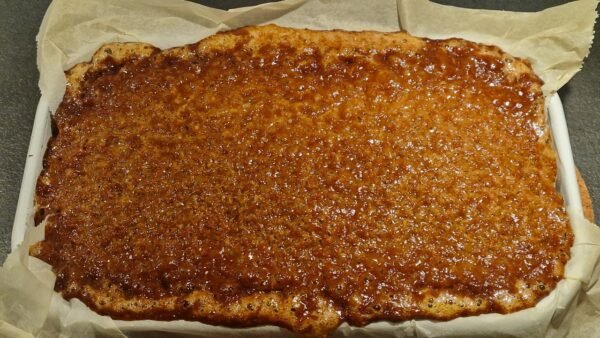
- Bake the cake for another 5–10 minutes at 435°F (225°C).Be sure to check it after 5 minutes. The top should have a nice dark color, but it shouldn’t burn. Depending on your oven, your taste, and how hot the topping was when you poured it on, the final bake with the coconut topping may take 5–10 minutes in total. At this point, the coconut topping will be bubbling in the oven.
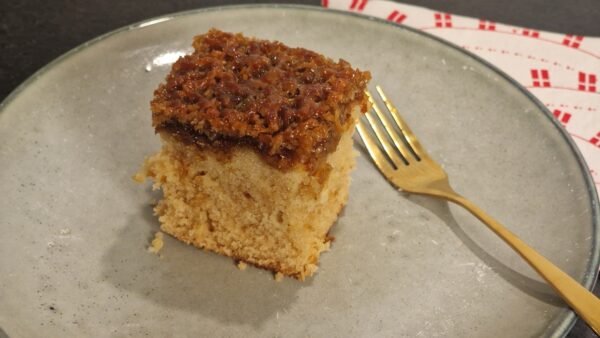
- Let it cool in the pan. Cut it into squares to serve.