The origins of ‘Risi e Bisi’ are not very well known outside Italy. It is, in fact, an Italian dish called ‘Risi e Bisi’ [pronunciation: ri:zi-e- bi:zi], which simply means ‘rice and peas.’ Simple yet delicious, it is a staple and exceptionally easy to make.
Both the name and the ingredients point to its origins: this Italian one-pot dish is a mix of rice and peas. In Italy, it is usually served as a first course—often more like a soup (a kind of primo piatto). In terms of texture, it is more like a thick, brothy soup than a risotto. From an Italian point of view, it is really a thick pea-and-rice soup that, in its original version, is made with pancetta (essentially Italian bacon).
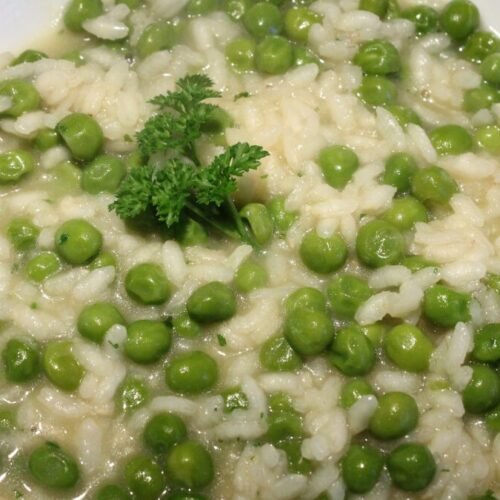
Risi e Bisi is a truly delicious Italian dish, and I highly recommend giving it a try.
Tips on the Ingredients
Peas
If you have the opportunity to use fresh peas, shell them and first cook the pods, or even the shoots, in the vegetable stock over low heat.
If fresh peas are not available, use frozen peas—ideally young peas, since they have the most flavor and are incredibly tender.
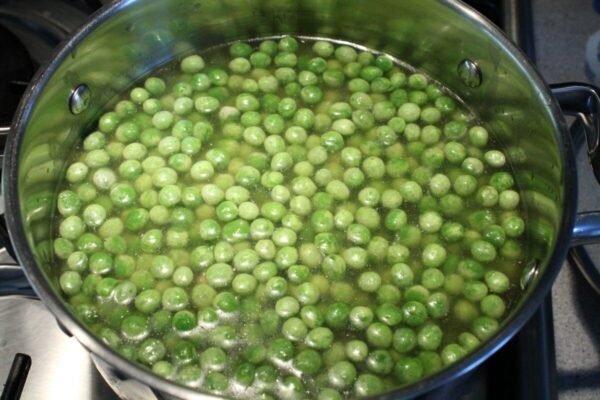
Add the frozen peas to the boiling stock, cook over low heat for about 5 minutes, and let them thaw in it. In both cases, it’s important to start cooking your ‘Risi e bisi’ with hot vegetable stock.
Rice
Use risotto rice for an authentic risi e bisi; Arborio or Vialone Nano work best. Use short-grain rice if you can’t find either of those.
The cooking time for risotto rice is usually written on the package. For Vialone Nano, it is about 16-18 minutes. Keep a little hot water or stock on hand in case the rice absorbs too much liquid and becomes too dry. In terms of texture, the original ‘Risi e bisi’ is more like a thick soup—looser and more broth-based than the risotto most people know.
The origin of ‘Risi e bisi’
‘Risi e bisi’ is a special spring dish from the province of Venice, in the Veneto region: fresh peas and parsley give it a wonderful flavor. According to historical and local Italian sources, its origins can be traced to the celebration of spring: ‘Risi e bisi’ was the first dish served at the banquet held by the Doges each year on April 25 in honor of San Marco, the city’s patron saint.
Chef’s Tip: The original Risi e bisi recipe includes 50 g (1/4 cup) of pancetta (Italian bacon). I left it out, but to boost the flavor of your dish, cook the pancetta with the onions at the beginning.
Risi e Bisi
Ingredients
- 5 cups peas frozen, or 1 000 g fresh peas with pods and stems
- 1 cup risotto rice Vialone nano, Arborio, 200 g
- ½ stick butter 60 g
- 4 tbsp olive oil
- 4 cups vegetable stock
- 1 onion
- ½ cup Parmesan cheese grated
- 1 tbsp fresh parsley chopped
- salt
- ground black pepper
Instructions
- Throw the frozen peas into the boiling vegetable stock, cook over a low flame for about 5 minutes, and allow the frozen vegetables to defrost in it. For fresh peas, cook them in the hot stock until almost tender.

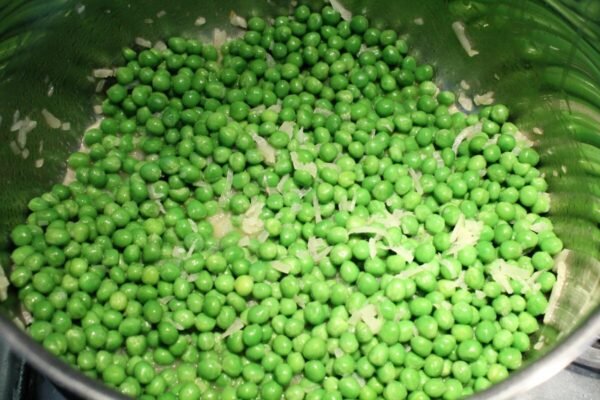
- Use a large pan, melt half of the butter, and add the oil. Add the small diced onions and the finely chopped parsley. Sauté the onions for about 3-4 minutes until they are translucent.
- Add the peas and a ladle of vegetable stock and cook over a low flame for 5 minutes.
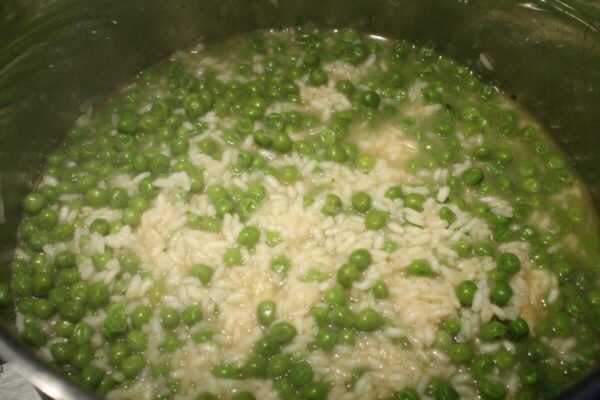
- Pour the remaining stock into the pot with the peas and add the rice. Stir frequently until rice is al dente (to the tooth), which means it is cooked, tender, but firm to the bite.
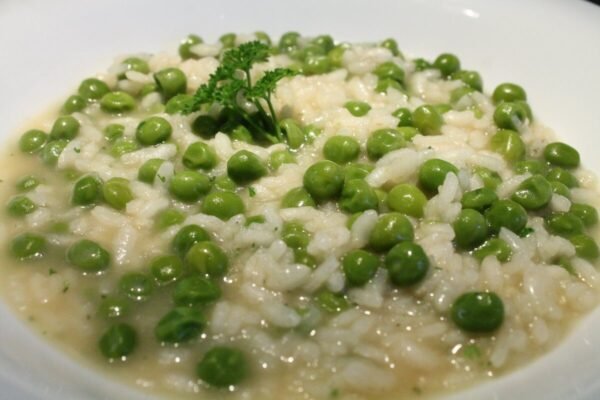
- Take your pan off the heat, add grated Parmesan cheese and the remaining butter, serve hot.