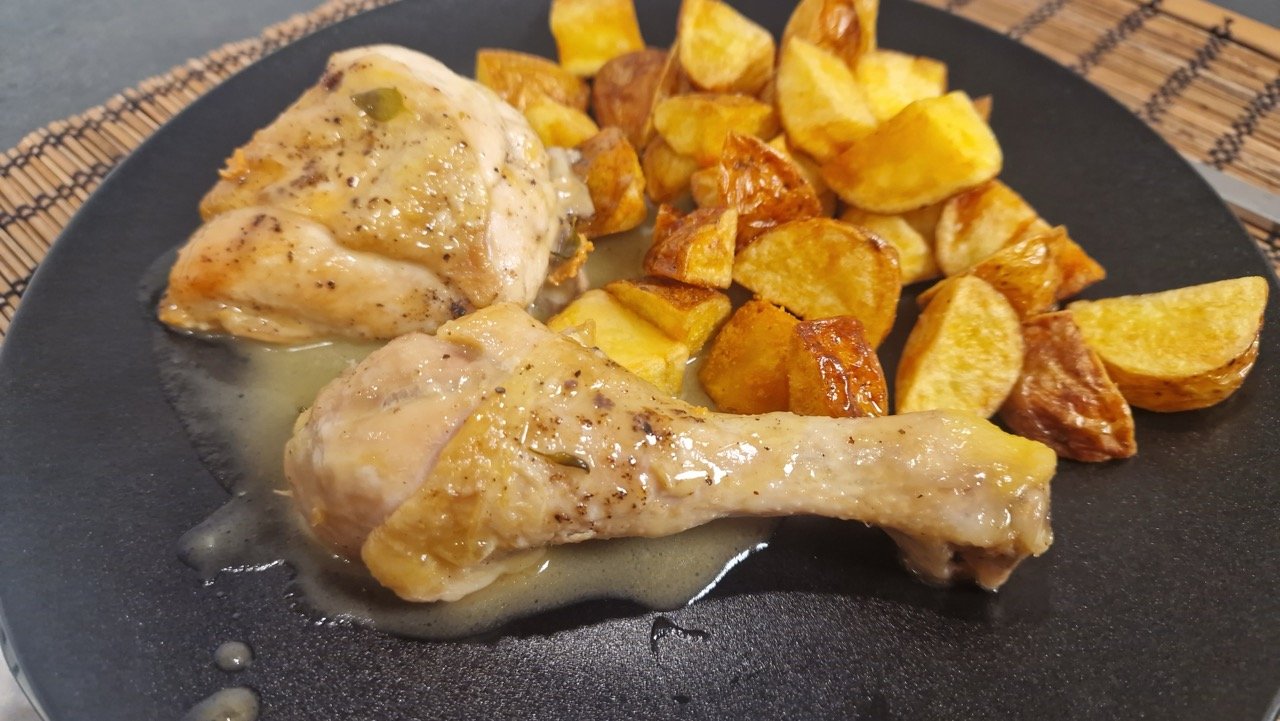
If there’s one truly delicious yet simple garlic chicken dish, it’s Spanish pollo al ajillo [pronounced roughly POH-yoh ahl ah-HEE-yoh].
It’s a very simple, traditional recipe, one that’s often served at home in Spain. In practice, once you’ve browned the chicken thoroughly, there isn’t much left to do: covered over low heat, it largely cooks on its own, and you don’t need many ingredients or expensive ones, either.
But the riot of flavors in this dish will not only make you want to lick all ten fingers afterward, perhaps literally, but also make you crave chicken made this way about once a week after that first taste!
Perfect Flavor Lies in Simplicity
Pollo al ajillo is a very simple recipe. There’s nothing extraordinary about either the ingredients or the preparation. Even the name means nothing more than garlic chicken. Pollo means chicken in Spanish, and al ajillo means roughly “with garlic”: typically prepared with garlic and olive oil. That brings to mind another recipe with a very similar name, which for some reason is far better known around the world: gambas al ajillo—garlic shrimp.
But that’s exactly what makes it perfect! Olive oil and garlic are already a perfect pair; cooked together with the wine, vinegar, and juices released by the chicken, then reduced a little at the end, they form an intense, glossy sauce around the chicken. There’s absolutely no need to complicate it, and it’s no accident that this recipe is popular and well known in Spain: it’s perfect just as it is!
More of a Basic Recipe
As with many traditional recipes, you can’t really speak of one single, set-in-stone original recipe for pollo al ajillo. And since this dish is more often made for family lunches and served at home, every home cook naturally makes it a little the way they learned it and the way their family likes it.
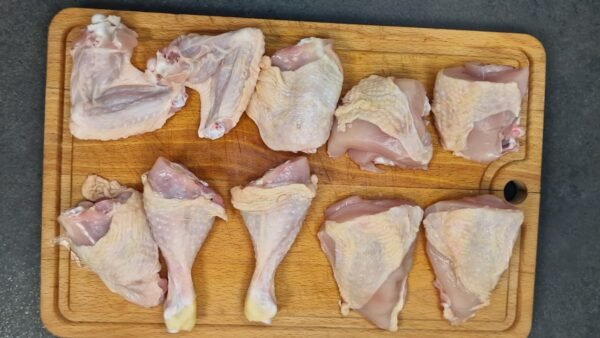
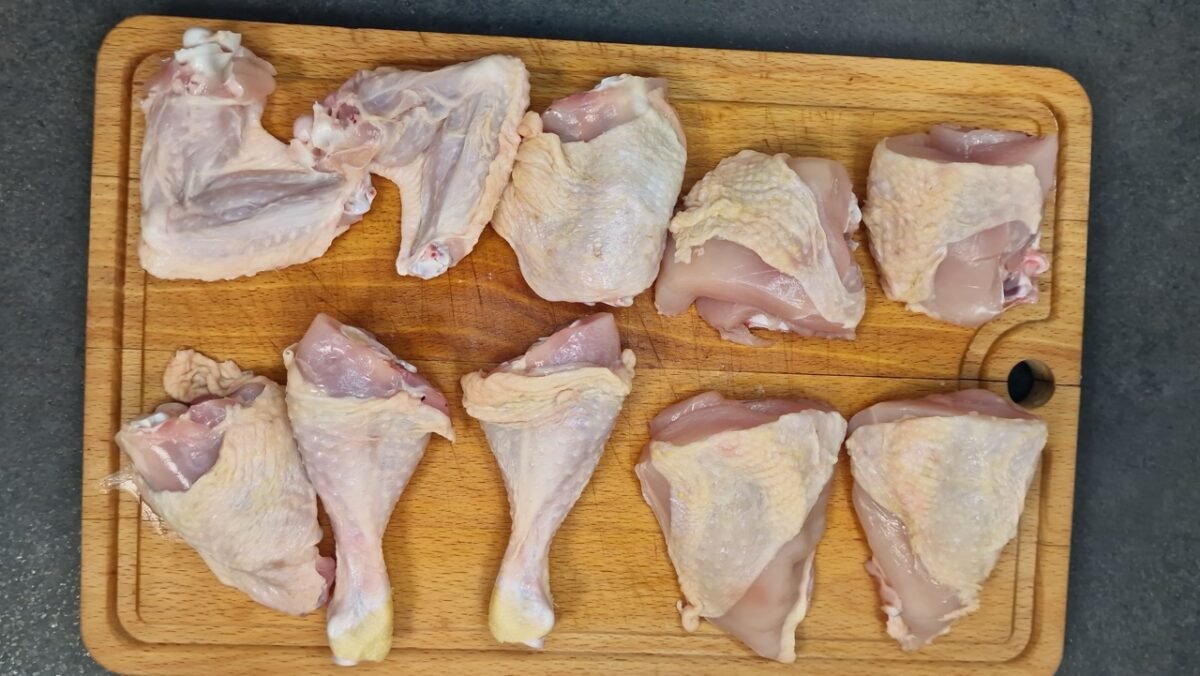
As for the meat, it’s traditionally made with a whole chicken cut into several pieces. I, for example, cut a whole chicken into 10 pieces: the two drumsticks and two thighs, the breast cut into four pieces with the bone left on (once lengthwise, then once crosswise), and the two wings. The back and wing tips go into the freezer, and later they’ll make a perfect chicken stock. But you can depart from this: you can make it with just thighs, for example, or even breasts—you’ll find a recipe variation like that at the link.
There are two essentials that all recipes agree on, and that give the dish its main character: lots of garlic and plenty of olive oil. The garlic determines the main flavor, while the generous amount of olive oil is needed to create the delicious sauce.
Beyond that, the rest of the seasoning is somewhat a matter of taste and custom. I think white wine goes very well with it—and belongs in it—and also helps give the dish its distinctive character. Some versions also contain a little wine vinegar or lemon juice, which lends the sauce a fresh acidity. Both are incredibly good in the finished sauce, too. Some leave out the white wine, while others use brandy, cognac, or dry sherry in its place.
As for the seasonings, salt is practically obligatory, and many people stop there. In addition, ground pepper naturally works well, bay leaves are very traditional, and thyme is also often used, preferably fresh. But some people add rosemary, for example, and some use all of them, so you can absolutely get creative here and still end up with traditional pollo al ajillo.
In its simplest, classic form, pollo al ajillo consists of just chicken, olive oil, garlic, and salt. The other ingredients are common additions, but they’re not essential.
Extremely Simple to Make
Pollo al ajillo really is extremely simple to make.
Of course, if you’re using a whole chicken, you’ll have to cut it into pieces first, but perhaps that’s the hardest part of the entire recipe.
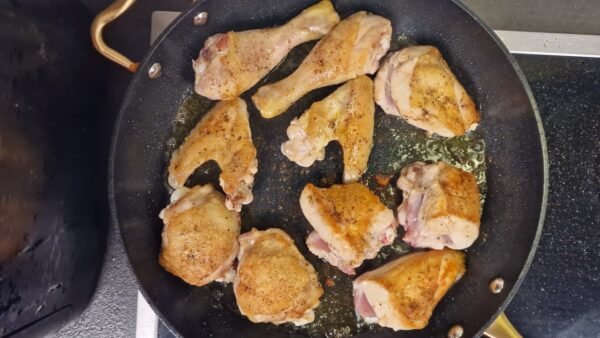
First, it’s worth briefly sautéing the garlic in the generous amount of olive oil, taking care that it doesn’t get too brown and certainly doesn’t burn. This gives the oil a wonderful aroma, and then you brown the chicken pieces in it until they’re nicely golden on both sides.
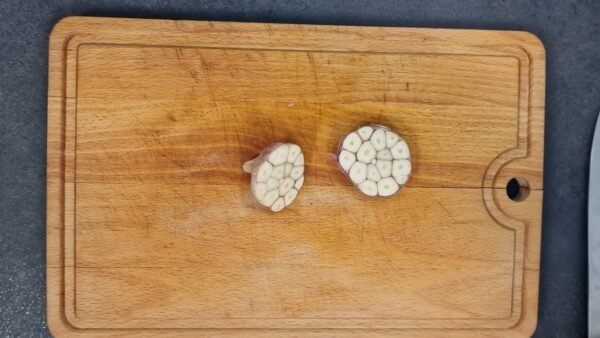
A common traditional method is to add the garlic cloves, skins and all, after lightly crushing them. I prefer to cut the whole head in half crosswise and fry it that way.
Once that’s done, we’re essentially finished with most of the work. The garlic goes back in with the chicken, along with the white wine, vinegar (or lemon juice), a little water, and the herbs, and everything becomes tender under a lid over very low heat for about 45 minutes. Once it’s done, it’s worth reducing the sauce a little more—mainly depending on how much liquid you poured in at the start.
Serving Pollo al Ajillo
Pollo al ajillo tastes best fresh and hot, but of course you can also keep it in the refrigerator and serve it reheated. After cooling it quickly, you can keep it covered in a refrigerator below 41°F (5°C) for 2–3 days. Heat it thoroughly before eating.
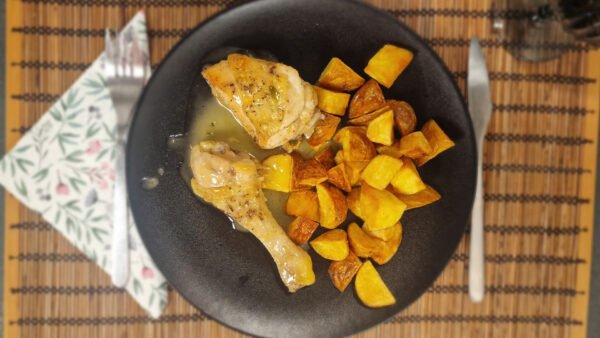
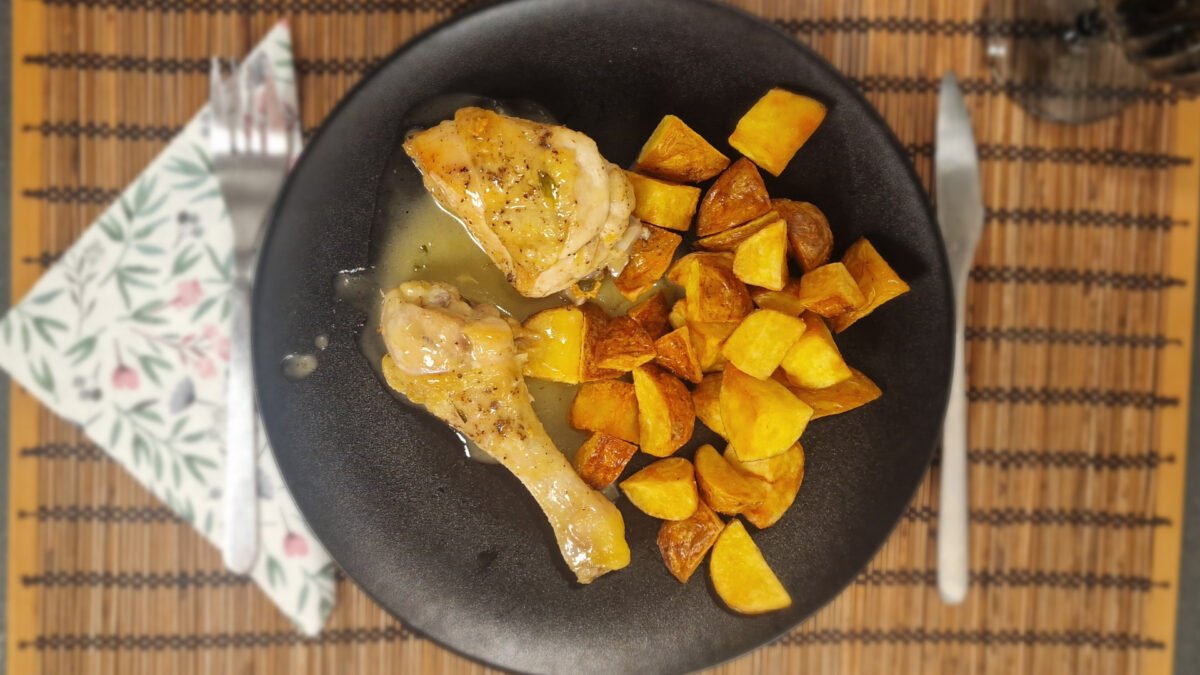
It’s a perfect main course. Homemade fried potatoes are probably the best side dish with it, and perhaps the way it’s most often served in Spain, too. But fresh, crusty bread or even a green salad is also an excellent and traditional accompaniment. You can serve cooked rice with it as well.
Enjoy!
Pollo al Ajillo
Ingredients
- 1 whole chicken about 3¼–3¾ lb (1.5–1.7 kg)
- 100 ml extra virgin olive oil About 6 Tbsp plus 2 tsp
- 1 head garlic or more to taste
- 150 ml white wine About ½ cup plus 2 Tbsp
- 50 ml water About 3 Tbsp plus 1 tsp
- 1 tsp wine vinegar 5 ml, or about 2 tsp (10 ml) lemon juice, to taste
- 8 sprigs fresh thyme optional
- 3 bay leaves
- Salt
- Ground pepper
Instructions
- If you’re using a whole chicken, first cut it into 10 pieces: the two drumsticks and two thighs, the breast cut into four pieces (it’s good to leave the bone on), and the two wings.

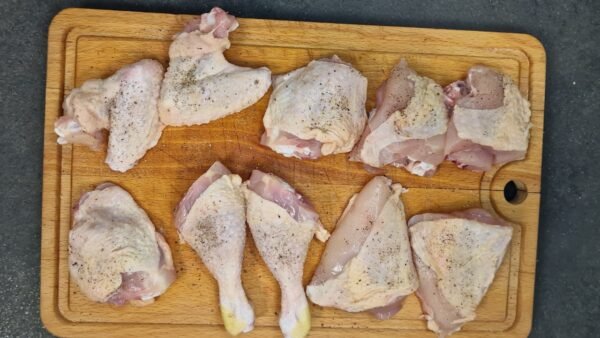
- Season the chicken pieces with salt and pepper.
- Cut the head of garlic in half crosswise and fry it, skin and all, in the moderately hot olive oil for 3–4 minutes, until it takes on a little color. It mustn’t brown too much. Then take the garlic out of the oil and set it aside.
- Put the chicken pieces in the hot oil and brown them on both sides over high heat until golden. Depending on the heat, this will take about 5 minutes on the first side and 3–4 minutes on the second. The chicken doesn’t need to be cooked through yet, just nicely browned. If necessary—if you’re using a smaller skillet—brown the pieces in batches so they really brown instead of steaming in their own juices.
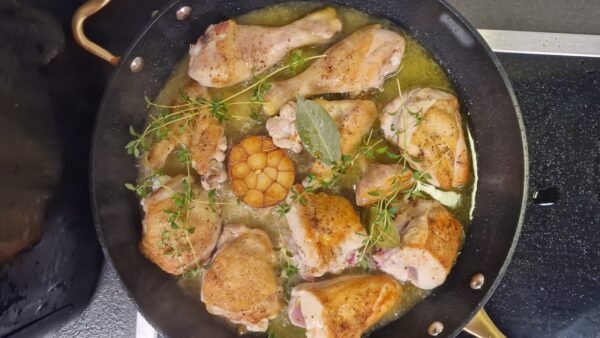
- Now add the wine, water, vinegar or lemon juice, bay leaves, and thyme, and return the garlic to the pan. Cover and cook over low heat for about 45 minutes, or until the chicken is completely cooked through and tender.
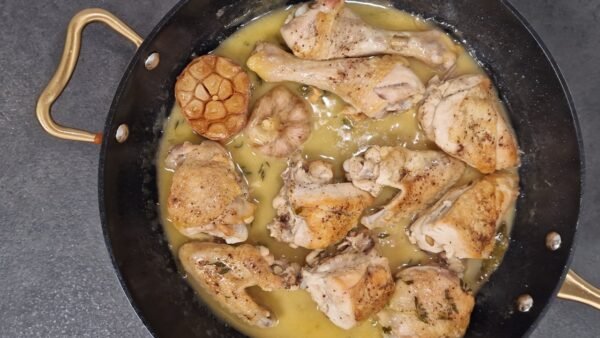
- At the end, remove the lid and reduce the sauce over higher heat for a few minutes.
- Serve fresh and hot with homemade fried potatoes or your favorite side dish.