First, let’s look at exactly what Danish æbleskiver are — and what they are not. Because besides being perhaps Denmark’s most traditional dessert, especially around Christmas, the name itself tells a little story. And not only because of the pronunciation.
Æbleskiver — pronounced roughly “eh-bleh-skee-ver” — literally means apple slices (æble = apple, skiver = slices). Yes, except there is one problem with that. Or, more precisely, two right away. For one thing, there is no apple in this Danish dessert, and for another, the dear thing is not a slice either. But somehow that’s how the name developed — and together with its pronunciation, which only vaguely resembles the way it is written, it gives you a pretty good picture of the beauties of the Danish language.
But this is, after all, a recipe site rather than a language site, so let’s look at exactly what this sweet treat is. Supposedly, many hundreds of years ago, apple slices dipped in thick batter were fried in fat, and today’s version developed from that. Sometime around the 19th century, the distinctive æbleskiver pan still used today appeared — and with it came the round shape, while the apple slowly disappeared.
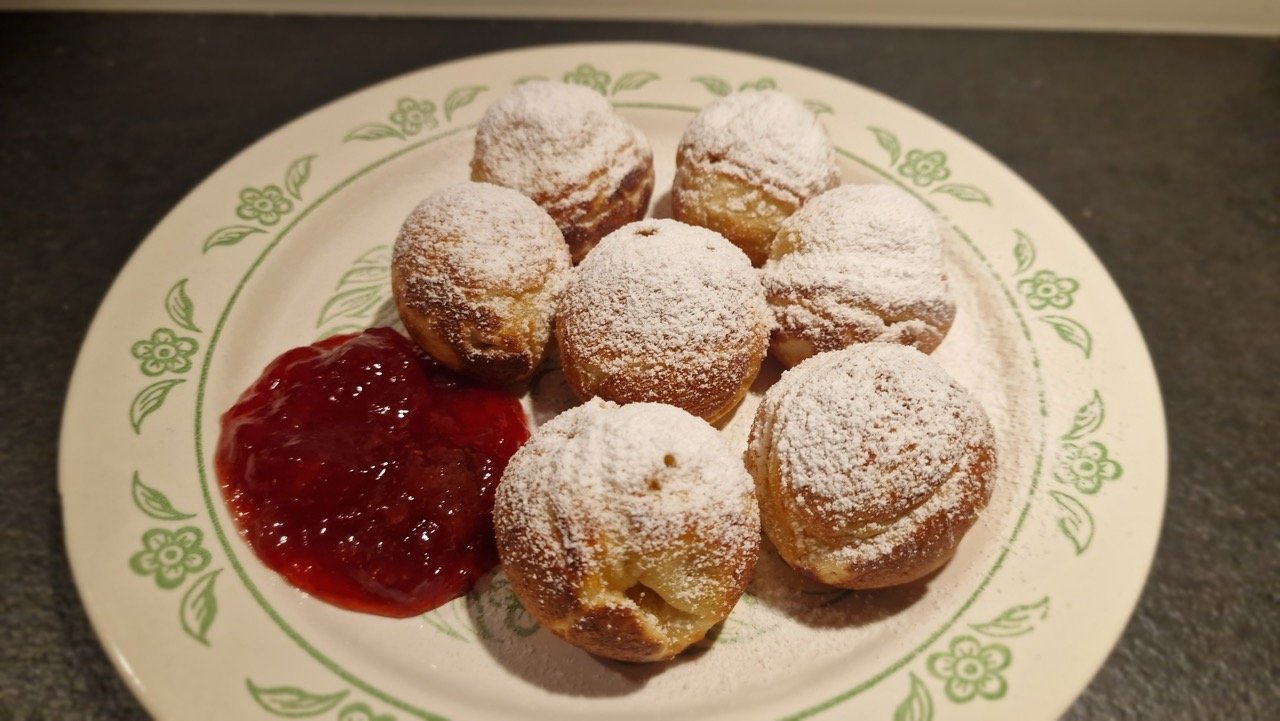
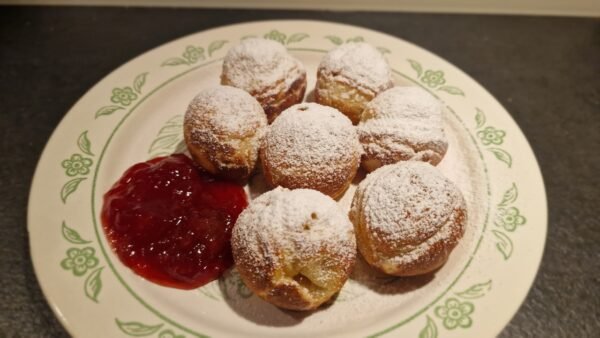
The result is what æbleskiver has become today. It is perhaps Denmark’s most traditional dessert: essentially a pancake ball cooked into a round shape — using “pancake” here more in the sense of American pancakes. In other words, little balls that are soft and airy inside, just slightly crisp on the outside, and usually served with powdered sugar and strawberry or raspberry jam.
Æbleskiver pan, the special tool
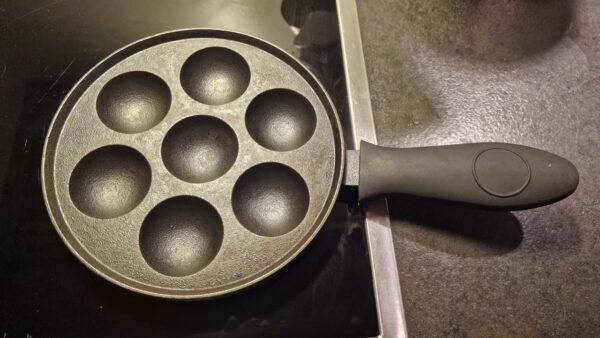
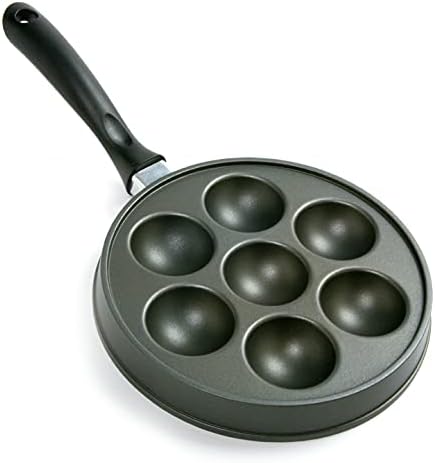
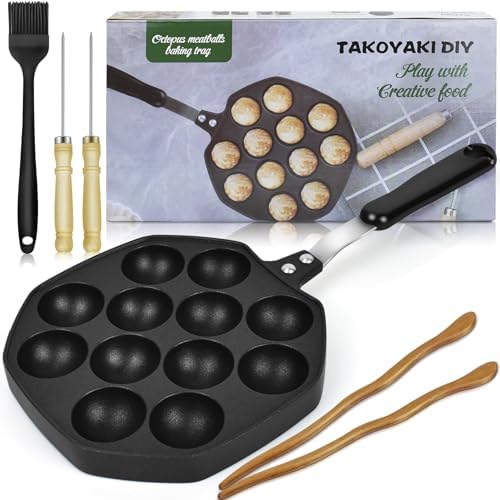
This dessert is not especially simple to make anyway, but honestly, if you don’t have the right tool for it, it’s not even worth starting. Now, don’t imagine anything wildly fancy, but outside Denmark, an æbleskiver pan is practically something you can only get online.
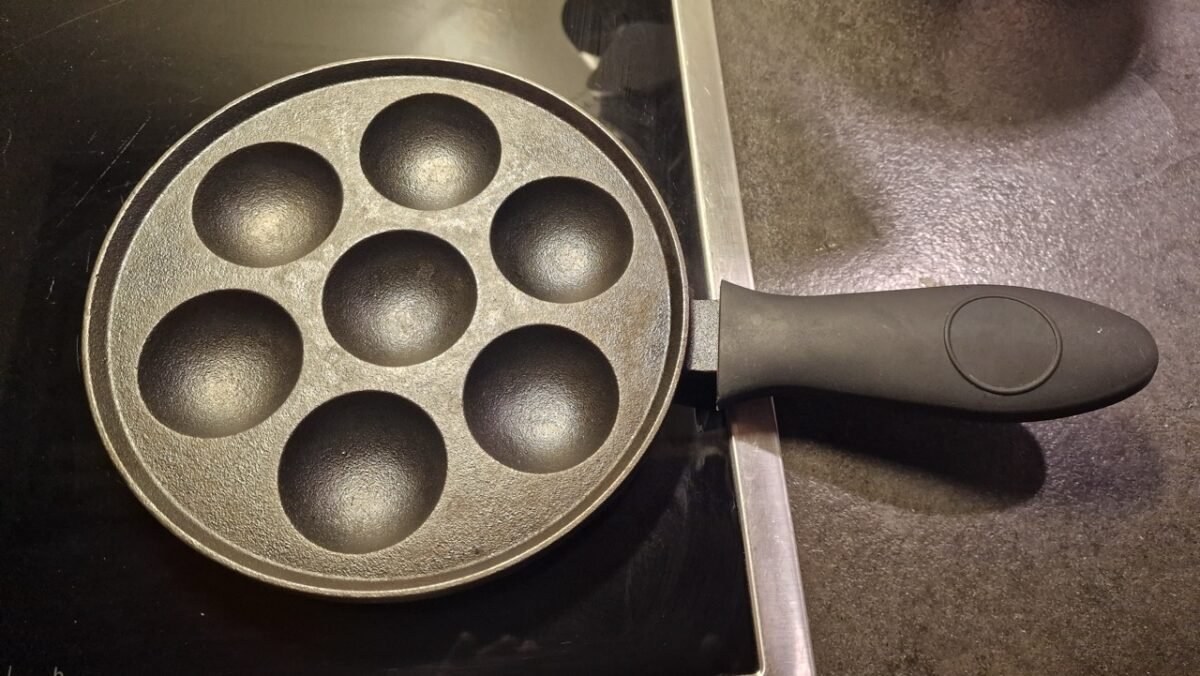
It is a special, usually stovetop, pan-like tool with wells shaped into it for making the little balls. In most cases, this kind of pan has 7 wells — 6 around the outside and 1 in the middle. You can also get an electric version, but the “simplest” one is the stovetop version, which, with its handle, really looks most like a special frying pan.
Is it worth getting one “just because”? I don’t think so — since the cooking itself also requires a bit of practice, as you’ll see further down and in the recipe. But it is worth getting to know this sweet treat as a Danish specialty, usually eaten in winter, around Christmas. And if you are ever in Denmark, it is worth trying, since many restaurants serve it, and in the colder months it is sold at street stalls too.
Cooking Æbleskiver
The biggest challenge in making æbleskiver is the cooking itself — even once you already have the pan. You can really only learn it through practice, and in my opinion, if you are only making it occasionally at home for yourself and your family, there is absolutely no need to worry if you don’t always manage to make perfect balls.
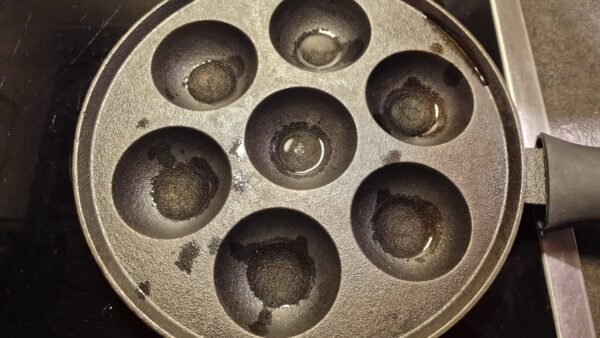
First, it is worth heating the æbleskiver pan until hot. In my experience, this makes the cooking easier later, and the batter turns out better.
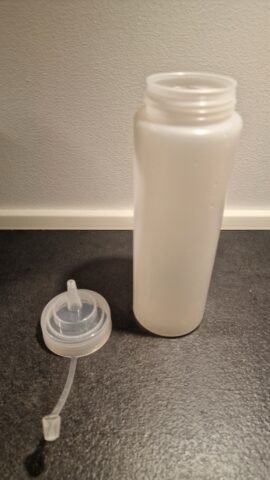
The prepared batter itself is best poured into a squeeze bottle, which makes it easy to portion. It can also work with a spoon from a regular bowl, but it will be much harder to get the portions right.
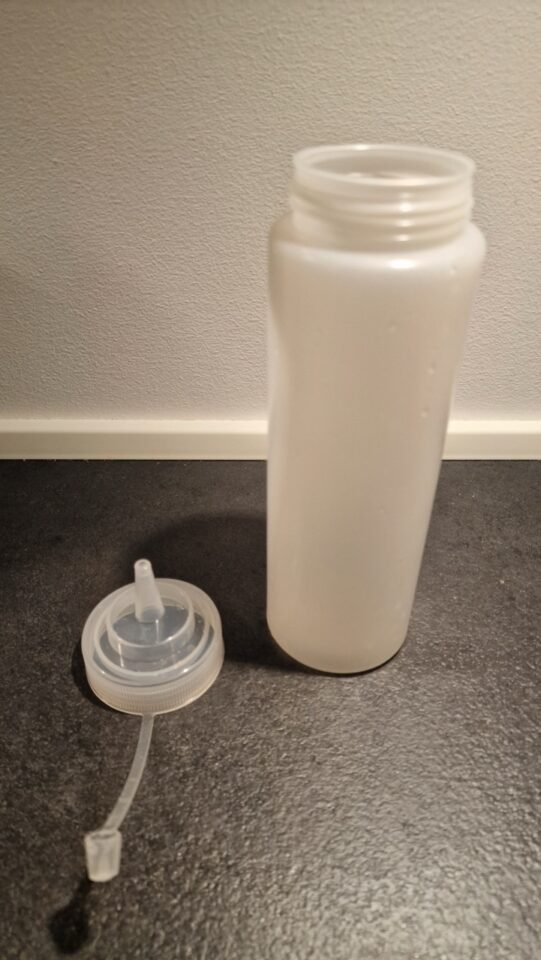
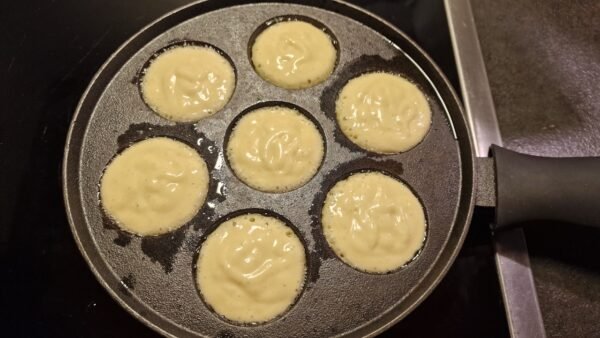
After heating, turn the flame down to medium and let the pan cool down a little off the heat. Put a little fat into the small wells — oil, butter, or even lard will work. After that, fill all the wells about 3/4 full with batter.
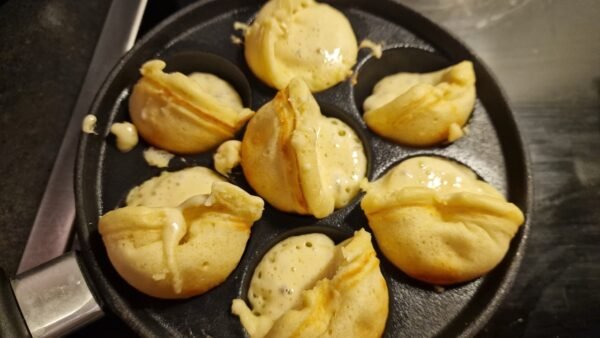
Depending on the strength of the flame and the pan, after 1–2 minutes, you can turn the half-spheres 90 degrees with a wooden skewer or chopstick, since the bottoms will already be cooked by then. At this point, a little uncooked batter may still flow into the clean part of the well, but also squeeze in another portion of batter, again filling the hollow about 3/4 full. Continue this way until you get full balls — except that with the later turns, you won’t have to wait as long.
Serving Æbleskiver
This is basically a winter sweet, one associated with the Christmas season, but it can be welcome at any time of year. Traditionally, it is served with powdered sugar and some kind of red jam, usually strawberry and sometimes raspberry.
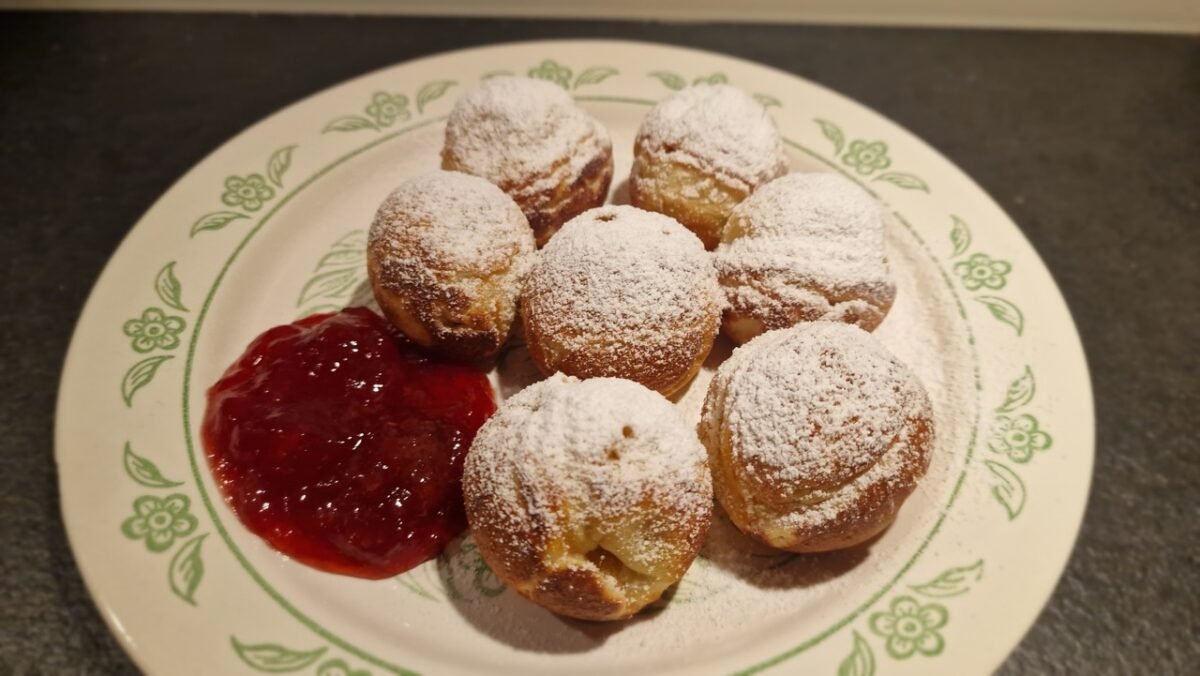
One serving is usually 6–8 pieces. And yes, they are so delicious that you could easily devour even more than that, but the jam, the powdered sugar, and the feather-light batter together are quite rich. So be prepared: if you eat more than a normal serving, the result may easily be a long nap!
Traditional ingredients
A traditional ingredient in Danish æbleskiver recipes is buttermilk. However, it is not always easy to find everywhere, but that does not mean you have to give up on making this sweet. In this recipe, you can very simply replace the buttermilk with the same amount of milk mixed with 1 tablespoon lemon juice, then left to stand for 10 minutes.
The other traditional ingredient is ground cardamom, which Danes basically love. Honestly, in my opinion, it does not have much effect on the recipe, so you can safely leave it out if you don’t have it on hand.
Æbleskiver
Equipment
- 1 æbleskiver pan
- 1 squeeze bottle
- 1 wooden skewer or chopstick
Ingredients
- 2 cups flour 250 g
- 1 tsp baking powder
- ½ tsp baking soda
- 2 tbsp sugar
- 1 pinch salt
- ½ tsp ground cardamom optional
- 1⅔ cups buttermilk 400 ml. If you don’t have it, use the same amount of milk plus 1 tbsp lemon juice and let it stand for 10 minutes.
- 3 eggs
- 3½ tbsp butter 50 g, melted
- 1 tsp vanilla extract or 1 packet vanilla sugar
For cooking
- fat oil, butter, or even lard
For serving
- powdered sugar generously
- jam strawberry or raspberry
Instructions
Making the Æbleskiver batter
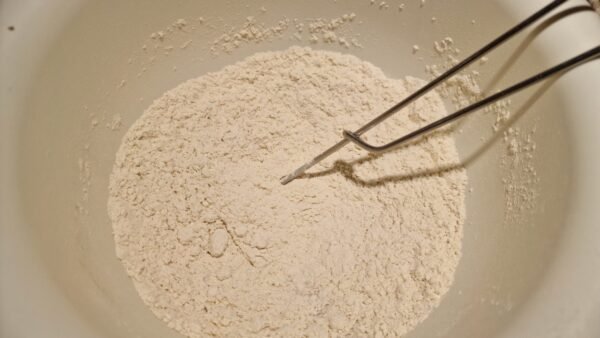
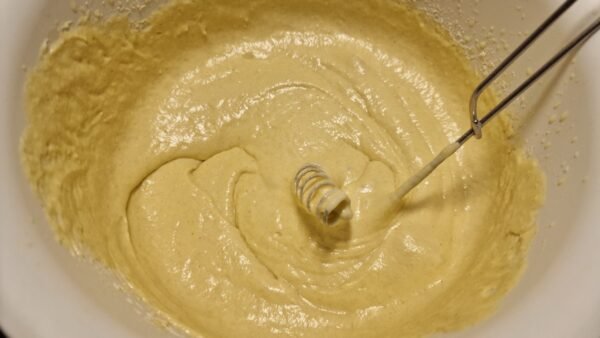
- First, mix the dry ingredients in a bowl: the flour, baking powder, baking soda, sugar, salt, and cardamom.

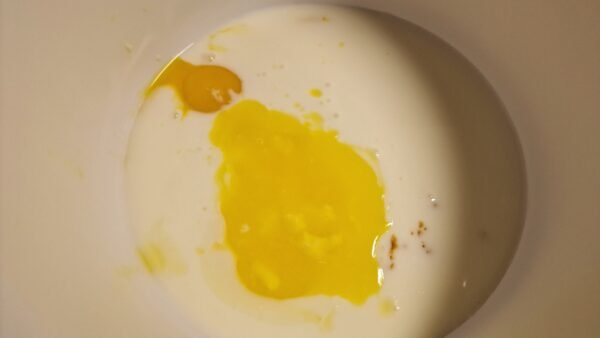
- Separate the eggs. Mix the egg yolks with the buttermilk, melted butter, and vanilla extract — or vanilla sugar.
- Add the egg yolk mixture to the dry ingredients and mix until smooth and lump-free.
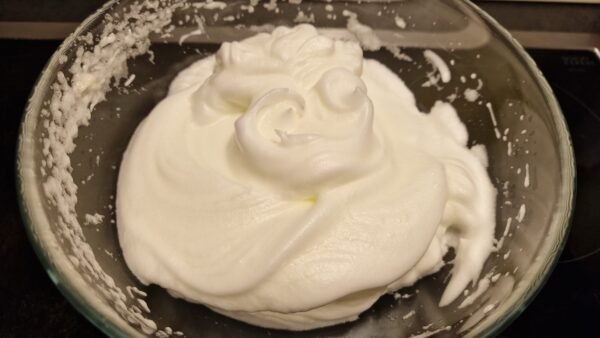
- Beat the egg whites until stiff.
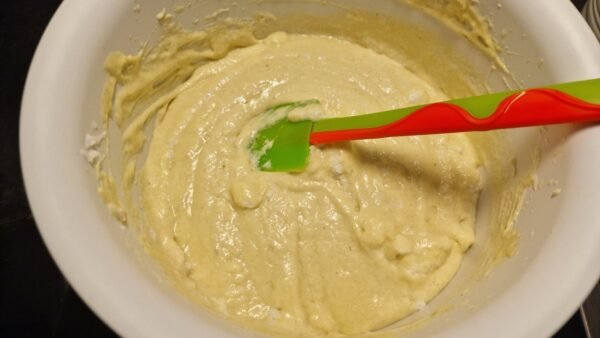
- Mix the beaten egg whites into the batter in a few additions. The first time, you can still mix vigorously, but after that, fold them in gently with a spatula so the foam does not collapse.
- For easier cooking, pour the batter into a squeeze bottle.

Cooking
- Heat the æbleskiver pan until hot, then turn the flame down to medium and let the pan cool off the heat for 1–2 minutes.
- Place the pan back over medium heat and put a little fat into each well.
- Fill the pan wells about ¾ full with Æbleskiver batter. Let cook for 1–2 minutes, until you can easily turn each one with a wooden skewer or chopstick.At this point, the bottom of the batter is cooked enough that you can move the half-sphere. Don’t worry if the uncooked part flows out — that can even be a good thing.Note: in the picture here, I overfilled the pan a little; you don’t need this much batter in it!
- Turn the balls 90 degrees so that half of each well remains empty. Fill that empty part again with raw batter, about ¾ full.
- Continue this process another 2–3 times, until you get completely round balls.With the later turns, the balls cook more quickly. Depending on the heat and your practice, making one ball takes 6–8 minutes.
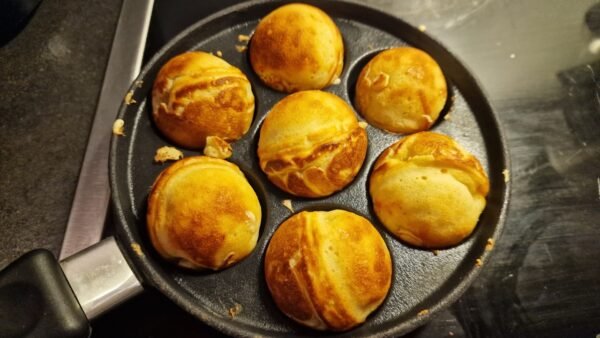
Serving
- Serve the finished Æbleskiver balls fresh, generously dusted with powdered sugar, with red jam on the side — strawberry is best, but if you don’t have that, raspberry is fine too.
Where to get an Æbleskiver pan
One option is to buy one in person, in Denmark. That may sound a little strange at first, but I think you will probably only make æbleskiver if you have tried it in its country of origin. It is usually available in stores that sell kitchen equipment, and you are almost guaranteed to find one at a favorite downtown market, TorvehallerneKBH — my own pan is from there too.
Online, you can look on Danish websites, and Amazon often carries them as well. I’m adding a few links here; in some cases, I may receive a commission if you buy through them.




Danish ecommerce stores:
- Imerco
- GrydeGuru
- Pricerunner (price engine)